Over the past six months, I have dedicated countless hours to building my own AI lab at home. In this article, I aim to guide you through the process of setting up your AI lab at home. First, let’s discuss the benefits and drawbacks of having an AI lab at home. Then, we will move on to installation instructions for setting up the lab on your computer.
Benefits of a local AI Lab
Having a local AI lab brings several advantages:
- Rapid testing of cutting-edge techniques and models: You can quickly try out new approaches without worrying about expensive cloud services or complex setup processes. This enables you to rapidly iterate and improve your AI applications.
- Cost savings: Running an AI lab locally means you only need to consider the costs of hardware and electricity. Since most home computers are already powerful enough to handle AI tasks, the initial investment can be relatively low. Additionally, there are no monthly fees or data storage charges associated with using an external service.
- Flexibility: With a local AI lab, you can experiment with different algorithms, libraries, and frameworks without being limited by vendor lock-in or proprietary software restrictions. This gives you greater control over your projects and enables you to tailor solutions to meet specific needs.
- Security: Running an AI lab locally allows you to maintain full control over your data and models. Unlike using cloud-based services, you don’t have to worry about security breaches or unauthorized access to sensitive information.
- Education: Building and maintaining an AI lab can provide valuable hands-on experience in AI development and deployment. By learning how to design, train, and deploy models, you can gain in-depth knowledge of AI technologies and best practices.
In summary, a local AI lab offers numerous benefits, including rapid prototyping, cost savings, flexibility, security, and education. These advantages make it an attractive option for developers looking to create AI applications and solutions.
Downsides of a local AI Lab
Having your own AI Lab does bring some downsides with it. In my professional and personal experience with these systems, these are as follows:
- Upfront cost: Creating your own AI Lab involves significant upfront costs such as buying a motherboard, cables, and licensing costs for the Windows operating system (OS). These costs can be prohibitive for those with limited budgets. However, if you already have a gaming PC, you may have bypassed most of the upfront costs for running your homebrew AI models.
- Maintenance responsibility: When you run an AI lab locally, you become responsible for all maintenance tasks. This includes both software and hardware maintenance. If you are new to software and hardware maintenance, it will be an uphill battle for you.
- Limited capabilities: Your AI lab might not be able to do everything you want. Balancing your workload becomes crucial when using an AI lab at home. You need to carefully identify which tasks you want to prioritize and focus on.
These are the main downsides of having a local AI Lab. It’s important to consider these factors before deciding whether creating your own lab is the right choice for you.
Hardware and software requirements
Minimum
- 16 Gb of memory
- An nvidia video with CUDA support with atleast 8Gb of VRAM
- 64 Gb of availible storage
- Have Git installed
- Have python installed
- Have anaconda installed
- Have CUDA toolkit installed
Adviced
- 32 Gb of memory
- An nvidia video with CUDA support with atleast 12Gb of VRAM
- 64 Gb of availible storage
- Have Git installed
- Have python installed
- Have anaconda installed
- Have CUDA toolkit installed
Installing your local AI lab
To kick off your local AI lab, you should start by identifying a set of tasks you want to perform. For each task, there are hundreds of systems you could use AI for. In this article, we assume you want to either use DALL-E3 image generation systems or your own ChatGPT.
To get your own local Dalle3, you will need to install the Stable Diffusion WebUI. This is a web browser application that allows you to generate images. For your first instance, you will start with the 1.5 version of Stable Diffusion. Simply said, if you have the minimum requirements, you can run this.
To install Stable Diffusion WebUI, follow these steps:
1. Make sure you have Python and Git installed.
2. Open the terminal at a directory of choice.
3. Use the following command in your terminal: `git clone https://github.com/AUTOMATIC1111/stable-diffusion-webui`
4. Double click on `webui-user.bat` on Windows or type `bash webui-user.sh` on Linux to run the script.
5. Wait for it to install, which could take 15 minutes.
6. Go to the following URL: `http://127.0.0.1:7860/`.
Now you have a local install of Dalle3 that you can play with to your heart’s content!
For your local installation of ChatGPT, I recommend using Text-Generation-WebUI. This is a browser-based application that allows you to prompt a set of publicly available large language models.
To install Text-Generation-WebUI, follow these steps:
- Make sure you have Python, Git, and CUDA installed.
- Open the terminal where you want to store your AI models and systems.
- Clone the repository from Github using the command `git clone https://github.com/oobabooga/text-generation-webui`.
- Use the one-step installer to install all the required dependencies. On Windows, double-click start_windows.bat; on Linux, run `bash start_linux.sh` in the terminal.
- Wait for around 15 minutes for everything to download.
- After downloading all the requirements, open your web browser and go to `http://127.0.0.1:7860/`.
Text-Generation-WebUI does not come with a default model out of the box, so you need to download one. Go to the “Models” tab and in the “Download Model” field, enter “TheBloke/vicuna-7B-v1.5-GPTQ”. Click on “Download” (it will take about 15 minutes).
Once you downloaded the model, click on “Models” in the top left corner of the “Model” tab and select “TheBloke/vicuna-7B-v1.5-GPTQ”. In the “Model Loader”, select “exLlamav2”.
Click on the “Load” button next to the model and wait for 30 seconds. Congratulations, you have loaded your first model! You can now interact with it in the “Chat” section, just like ChatGPT. By default, you can interact with it at a basic level. In the “Notebook” tab, you can interact with it as a single line prompt.
Now that you have installed text generation and/or the Stable Diffusion WebUI, you can play with it without any difficulties or limitations. In future articles, I will provide you with a list of potential sources from which you can obtain additional models to experiment and play with.
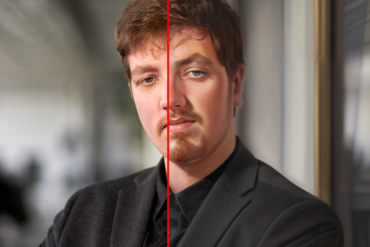
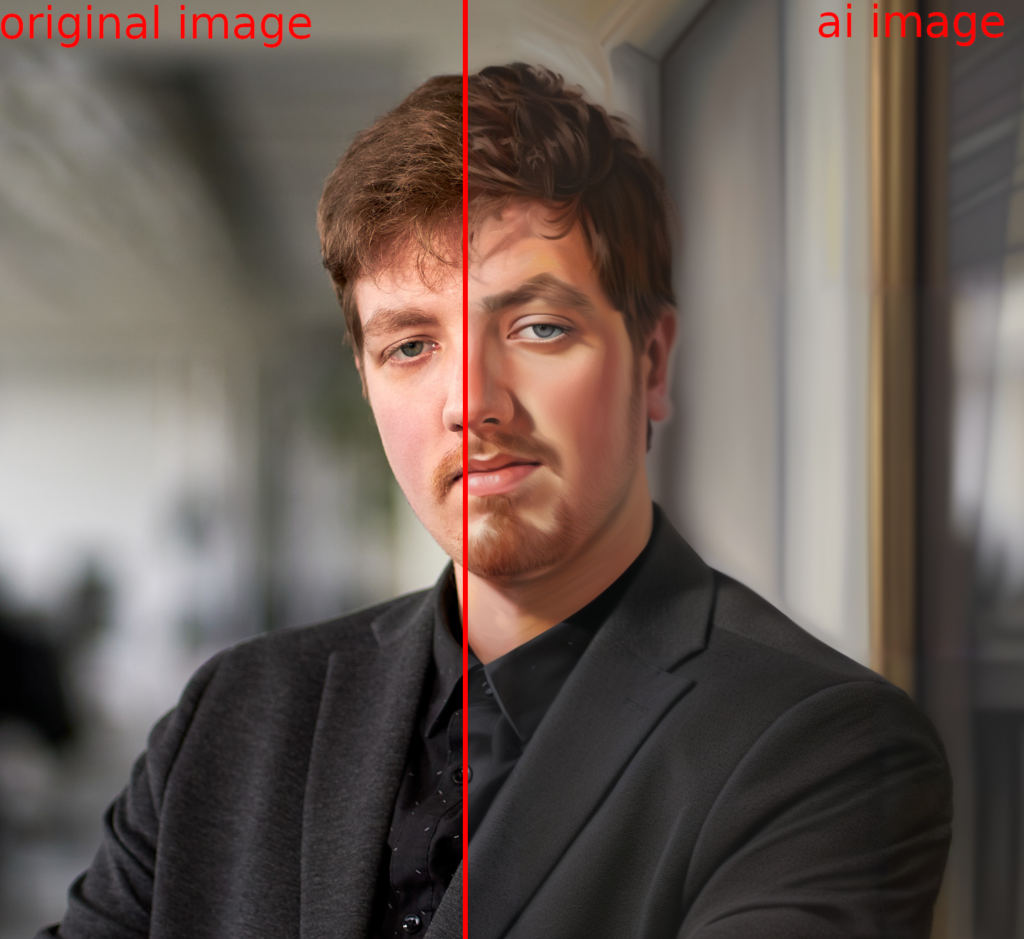
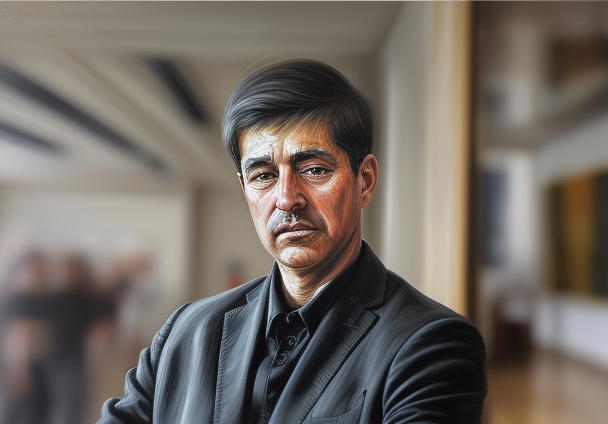
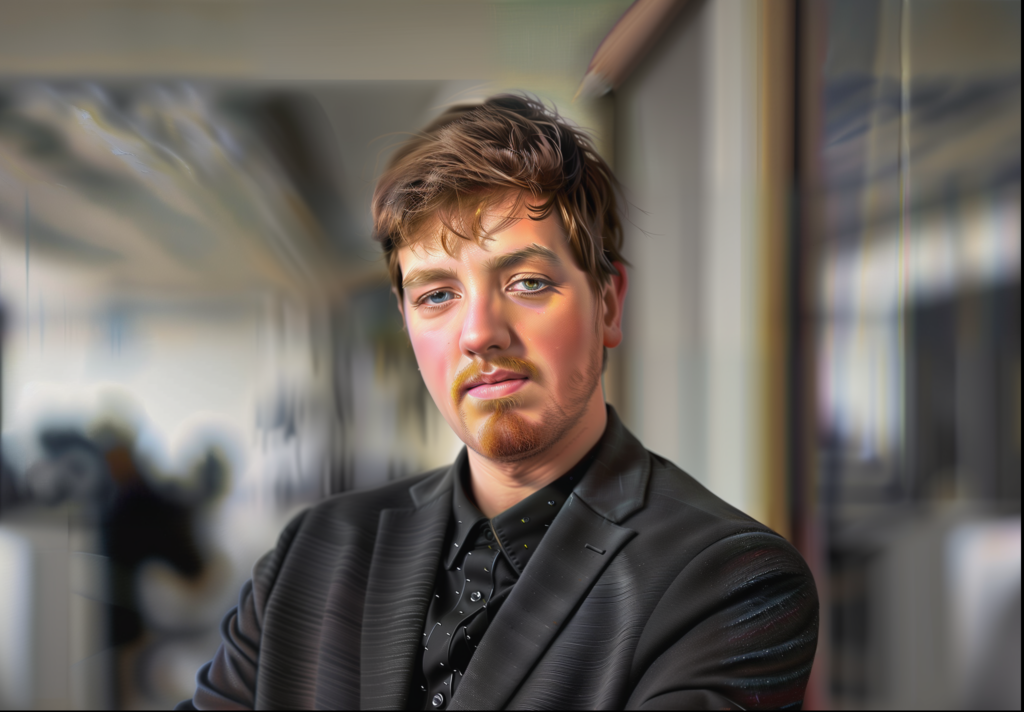
If you want to explore the possibilities of AI further, check out my guide on converting any portrait into an art style using the Stable Diffusion WebUI. (link)
If you want tutorials on other topics related to AI or implementing these technologies, please feel free to contact me.
– Niels van der Burg
Email: info@nielsjburg.nl